
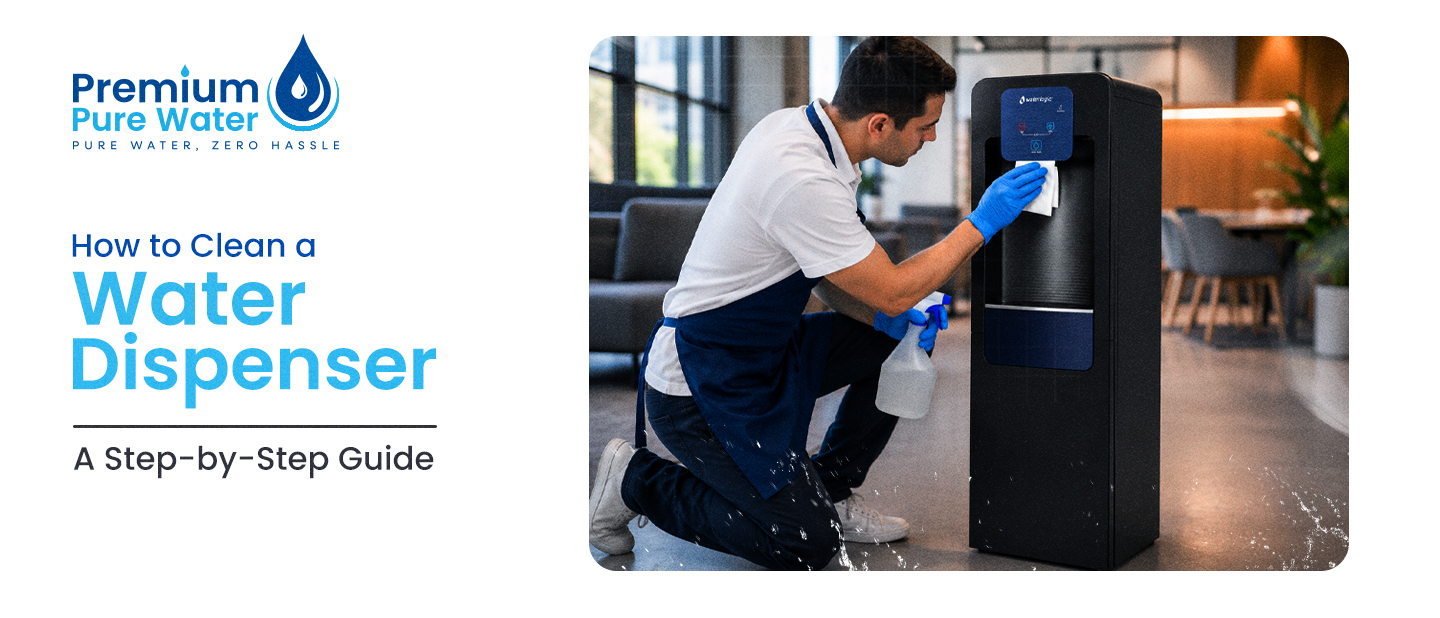
Your business water dispenser fills dozens of cups daily. However, this neglected damp space quietly breeds mold, algae, and slimy biofilm. All these ruin the taste of fresh water and pose hidden health risks. To clean a water dispenser, unplug the machine, drain all remaining water, scrub the interior tank with a diluted vinegar or bleach solution, and flush the spigots thoroughly.
Taking just a few minutes to sanitize the internal baffle and drip tray removes hard mineral scale. It also ensures every glass you drink stays crisp and hygienic. Whether you rely on a water dispenser in a small office or warehouse, regular cleaning is always essential.
The present guide breaks down exactly how to clean a water dispenser safely. You will learn to remove hidden biofilm, descale slow spigots, and ensure every pour remains crisp and hygienic.
Why Should You Clean Your Water Dispenser?
It’s essential to clean your water dispenser to prevent mold, eliminate harmful bacteria, and stop hard mineral scale. Consistent water dispenser cleaning ensures your daily hydration stays perfectly safe and tastes great.
Prevent Harmful Bacteria: Dark, damp internal reservoirs create ideal breeding grounds for biofilm and dangerous pathogens. Without regular maintenance, you directly risk ingesting harmful microbes with every single cup of water you pour.
Eliminate Foul Tastes: Algae growth and stagnant water quickly ruin the crisp flavor of fresh hydration. Routine scrubbing removes these hidden contaminants, ensuring your drinking water always tastes clean, refreshing, and completely natural.
Stop Mineral Scale: Hard water easily leaves behind stubborn calcium deposits that clog internal plumbing lines over time. You need to descale consistently to protect these delicate pathways. It helps to maintain consistent water flow and prevents frustrating machine leaks entirely.
Extend Machine Lifespan: Dirty, neglected components force the cooling and heating mechanisms to work much harder. When you remove this grime, it reduces system strain, lowers daily energy consumption, and helps your expensive equipment last longer.
Protect Workplace Health: A highly contaminated spout quickly spreads common germs throughout the office during cold season. To keep everyone healthy, highly productive, and safely hydrated, you need to sanitize exterior touchpoints and drip trays.
How Often Should You Clean a Water Dispenser?
You should clean a traditional bottled water dispenser every 6 weeks or every time you change the jug. For bottleless systems, deep clean the unit every 6 to 12 months.
Waiting until your water tastes weird means bacteria has already taken over. Every time you lift an empty five-gallon bottle off the machine, airborne dust and germs fall directly into the open reservoir. Establishing a consistent water dispenser cleaning routine stops this slimy biofilm before it starts.
In busy office spaces, make sure to wipe down the spigots and empty the drip tray every week. Frequent touching quickly spreads germs. You can set a calendar reminder based on your system type to keep your daily drinking water totally safe.
What Do You Need to Clean In a Water Dispenser?
You must clean the exterior touch panels, spigots, and drip tray, and replace the internal filters. Proper water dispenser maintenance targets these specific areas to prevent germ buildup. Ignoring these simple tasks allows exterior bacteria to ruin your daily drinking experience.
- Touch Panels: Your Office staff constantly press these buttons or screens to dispense hydration. Unwashed hands leave behind dangerous germs and dirt daily. Wipe these sensitive surfaces weekly using a gentle sanitizing cloth.
- Dispenser Spigots: Splashing liquids and dirty coffee mugs frequently contaminate the exposed exterior nozzles. Bacteria easily gather around these tiny exit points. Clean them thoroughly with food-safe wipes to prevent hidden mold.
- The Drip Tray: This bottom catch pan collects spilled water and floating dust throughout a busy workday. Stagnant puddles encourage rapid mold growth. Empty and wash this removable tray frequently to stop odors.
- Internal Filters: Sealed systems block airborne dust completely, but internal purifiers trap heavy minerals over time. Swap these cartridges out every six months to keep the water flowing fast and tasting crisp.
How to Clean a Water Dispenser – Step by Step
To clean a bottleless water dispenser safely, shut off the water line, sanitize the touch panels, wash the drip tray, and replace the internal filters. Proper water dispenser maintenance takes just ten minutes and keeps your daily hydration safe and refreshing.
Step 1: Shut Off the Supply
Before wiping anything down, disconnect the machine from the wall outlet to prevent electrical shocks. Next, locate the main water line connected to the back of your unit. Then, turn the valve completely off to stop any accidental flooding while you work.
- Unplug the cord from the wall.
- Locate the rear water line.
- Turn the supply valve completely off.
- Dispense leftover water completely.
Step 2: Wash Removable Parts
Pull out the bottom drip tray carefully to avoid splashing stagnant puddles onto your office floor. Take this component to the sink and scrub it thoroughly using warm soapy water. Next, wipe down the exterior dispensing spigots and touch panels using a food-safe sanitizing cloth.
- Slide out the drip tray.
- Scrub with warm dish soap.
- Rinse with clean tap water.
- Sanitize the exterior spigots.
Step 3: Replace the Filters
Bottleless units rely on internal purifiers instead of open tanks. Open the front cabinet panel to access these cartridges. Twist the old filters counterclockwise to remove them, then lock the brand new replacements firmly into place to ensure your drinking water remains completely free of contaminants.
- Open the front access panel.
- Twist old filters to remove.
- Insert brand new filter cartridges.
- Lock them tightly into place.
Step 4: Flush the System
Turn the rear water valve back on and plug the machine into the wall. Place a large pitcher under the spigots and dispense water continuously for five minutes. This critical flushing process clears out trapped air bubbles and removes loose carbon dust from the fresh filters.
- Turn the water valve on.
- Plug the cord into the wall.
- Place pitcher under the spigot.
- Flush water for five minutes.
How to Clean a Bottled Water Dispenser?
To clean a bottled water dispenser, shut off the water line, sanitize the exterior touch points, wash the drip tray, and swap the internal filters. Routine maintenance takes just minutes.
- Secure the System
Always unplug the unit from the wall completely before you begin working. Find the main water valve connected to the back of the machine and turn it completely off.
- Sanitize the Exterior
Use a safe, unscented sanitizing cloth to thoroughly wipe down the external touch panels and front spigots. These high-traffic areas collect heavy bacteria daily from unwashed hands and dirty cups.
- Scrub the Tray
Slide out the bottom plastic catch pan to prevent stagnant puddles from overflowing onto the floor. Empty the remaining liquid into your sink and scrub the tray using warm dish soap.
- Change the Filters
Open the front cabinet to safely access your internal purification cartridges. Twist the old, expired filters counterclockwise to remove them, then lock your brand new replacements tightly into the exact same positions.
- Flush the Lines
Turn the rear water valve back on and plug the power cord into the wall. Run fresh water through the cold spigot for five minutes to clear loose carbon dust entirely.
Bottled vs. Bottleless Water Dispenser Cleaning
Cleaning a traditional bottled cooler takes thirty minutes of heavy scrubbing. On the other hand, a bottleless system needs only a quick five-minute exterior wipe. Lifting heavy jugs exposes open tanks to dust, making frequent deep cleans mandatory.
Because bottleless units connect directly to the plumbing in a sealed design, they block airborne germs entirely.
Upgrading your equipment slashes your water dispenser maintenance time and eliminates the dreaded reservoir scrub completely.
Check out the key differences between bottled and bottleless water dispenser cleaning:
| Maintenance Task | Traditional Bottled Cooler | Bottleless Dispenser |
| Cleaning Frequency | Every 6 weeks | Every 6 to 12 months |
| Time Required | 30 to 45 minutes | 5 minutes (exterior only) |
| Contamination Risk | High (exposed to airborne dust) | Near zero (sealed system) |
| Heavy Lifting | Yes (removing 40lb jugs) | None required |
| Internal Cleaning | Manual scrubbing and flushing | Self-sanitizing (advanced UV tech) |
What Happens If You Don’t Clean Your Water Dispenser?
It is easy to let cooler maintenance slip off your busy schedule. However, neglecting this chore quickly turns your daily hydration into a hidden health risk. When you skip routine cleanings, the machine will eventually let you know. Watch out for these obvious red flags:
- A sudden change in taste, smell, or color.
- Murky or cloudy water filling your cup.
- Visible mold or algae growing near the spigots and drip tray.
- Sluggish water flow or unexpected puddles on the floor.
A spotless machine does much more than fix a bad taste. It actively protects your health, elevates the workplace experience, and stops expensive equipment breakdowns. Adding this simple task to your regular maintenance checklist guarantees your water stays crisp, fresh, and completely safe to drink.
Simplify Your Hydration Routine
Keeping a water dispenser clean is essential for safe, refreshing hydration. However, constantly scrubbing a water dispenser wastes valuable office time. If you are tired of this tedious maintenance, it is time for a smarter upgrade.
Premium Pure Water provides exceptional bottleless water dispensers that eliminate heavy jugs and dirty open tanks. They handle all the complex maintenance, ensuring your drinking water always stays crisp. Explore our range of collections today to request a free trial for your busy office.
Frequently Asked Questions
1. How often should you clean a water dispenser?
You should clean a traditional bottled cooler every six weeks or whenever you change the heavy jug. Bottleless water dispensers need a deep clean and internal filter replacement every six to twelve months. Regardless of the system you use in your office, make sure to wipe down the exterior spigots and empty the bottom drip tray every single week to stop germs.
2. How do you clean a water dispenser?
To clean a traditional water dispenser, unplug the machine, drain all the remaining liquid, and scrub the internal tank using a mixture of white vinegar and water. Take out the plastic baffle and drip tray, then wash them in your sink with warm dish soap. Finally, run fresh tap water through the system three or four times to flush the lines completely.
3. How do you clean a bottleless water dispenser?
Shut off the main water supply valve, unplug the unit from the wall, and wipe down the exterior touch panels with a sanitizing cloth. Empty and wash the bottom drip tray to prevent stagnant puddles. Swap out the internal purification filters every six months, turn the water back on, and let the spigot run for five minutes to clear the new lines.